Use a mason jar to make whipped cream, butter, and buttermilk in under 10 minutes. Yes, it’s that simple, all you have to do is shake!
The process for all three foods starts the same, we’ll just stop when we’ve reached the desired consistency. Cream turns to whipped cream which then turns to butter and buttermilk.
What you’ll need
Ingredients
- 400 ml room temperature full-fat cream
- 1 tbsp chilled water
- (Optional) pinch salt
Equipment
- Mason jar
- Large bowl
- Kitchen scales
Tips
- Use room temperature cream. It will take too long to whip/churn the cream if the butter is cold. Avoid this by taking cream out of the fridge and allowing 10-15 minutes for it to reach room temperature before proceeding.
- Extract as much buttermilk as you can. Extracting less buttermilk from the “butter mass” will make for a smoother, softer butter, but will cause the butter to sour more quickly. This may half the “shelf life” of your butter. To avoid this, try to extract as much buttermilk as possible during the squeezing process.
- Use cold water to rinse off your butter. Sprinkling chilled water on the butter will help to speed the rinsing/squeezing process along. It will also help to clear your butter of excess buttermilk.
- Save the buttermilk for baking. Buttermilk can be a very useful ingredient in baking, put the buttermilk to the side and use it within the next couple of days for cookies, cakes, pancakes, and much more.
Do I need to use full-fat cream?
Yes. You cannot make butter or cream from low/no fat cream.
How long does the butter/cream stay fresh?
Store homemade butter, cream and buttermilk in the fridge.
- Butter should last for 2-3 weeks
- Whipped cream should last 1-2 days
- Buttermilk should last 2-3 days
Directions
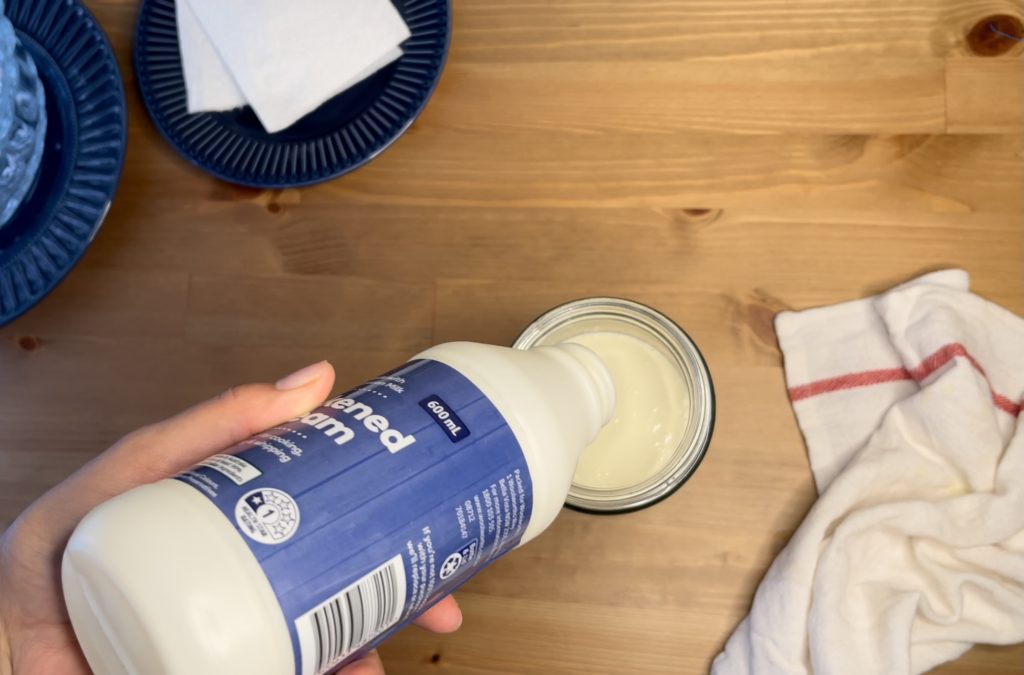
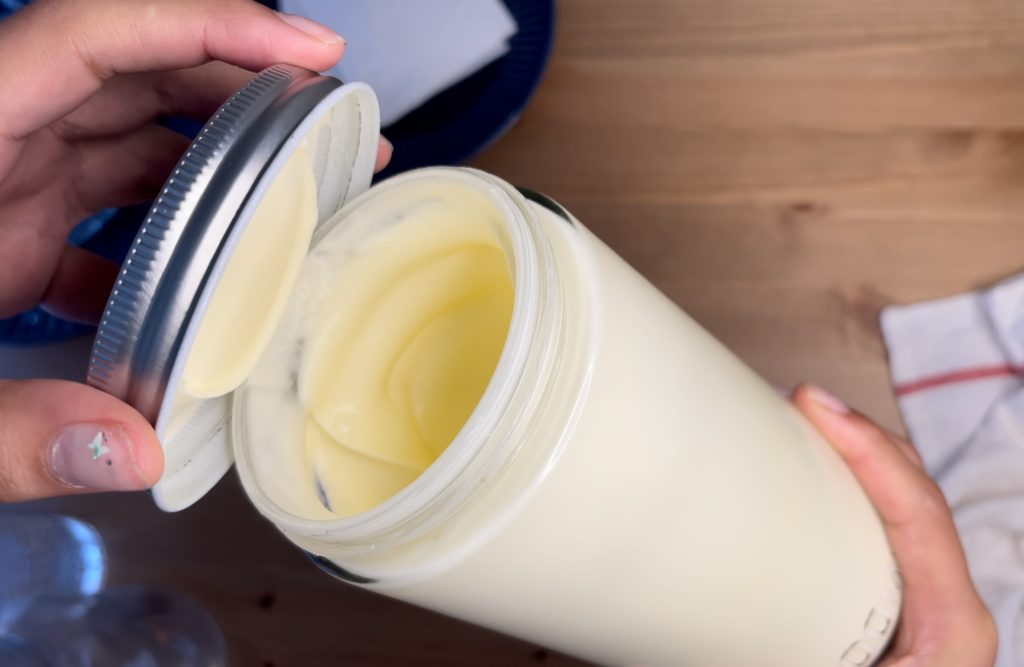
- Add room temp full fat cream to a medium/large jar
- Screw the lid on tightly and start shaking the jar from side to side
– in about three minutes you should have whipped cream!
– keep shaking if you want butter.
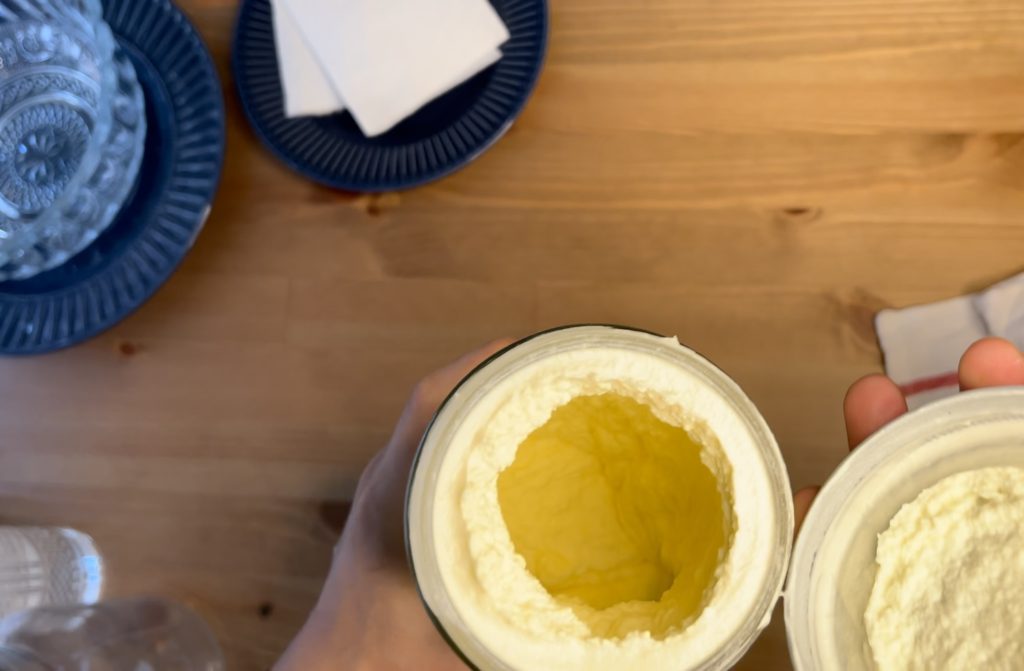
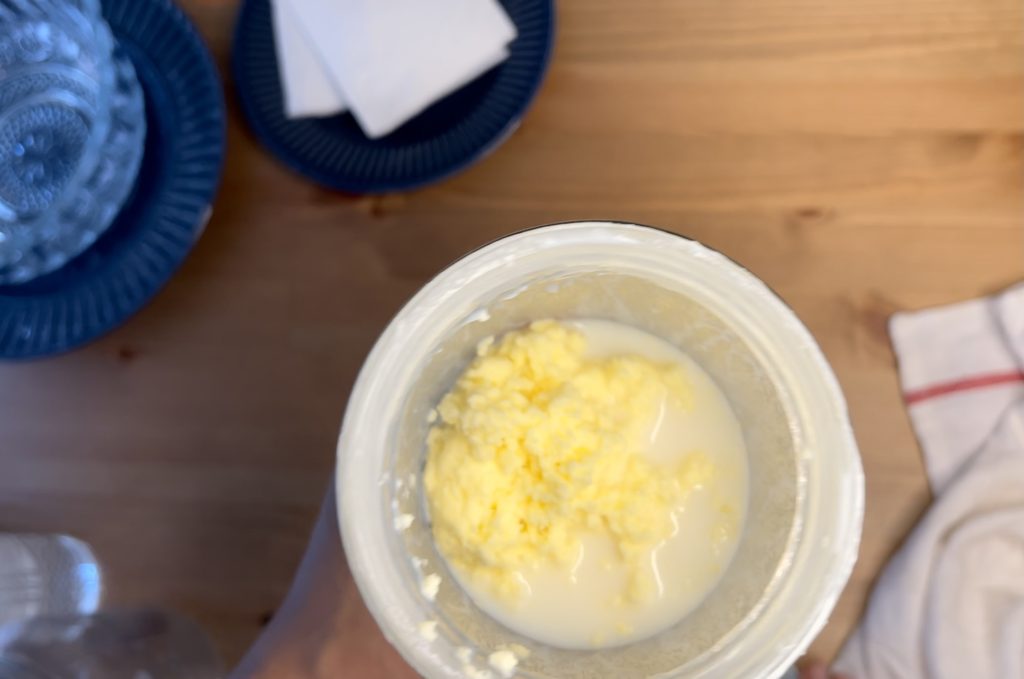
- After an additional 2 mins, the mixture will start to curdle and separate into a watery, lumpy mess – it sounds unappealing but you’re almost there!
- Around the 5 min mark, the mixture will all of a sudden feel heavy and slightly difficult to shake, keep shaking until there is a lump of yellow butter and some liquid.
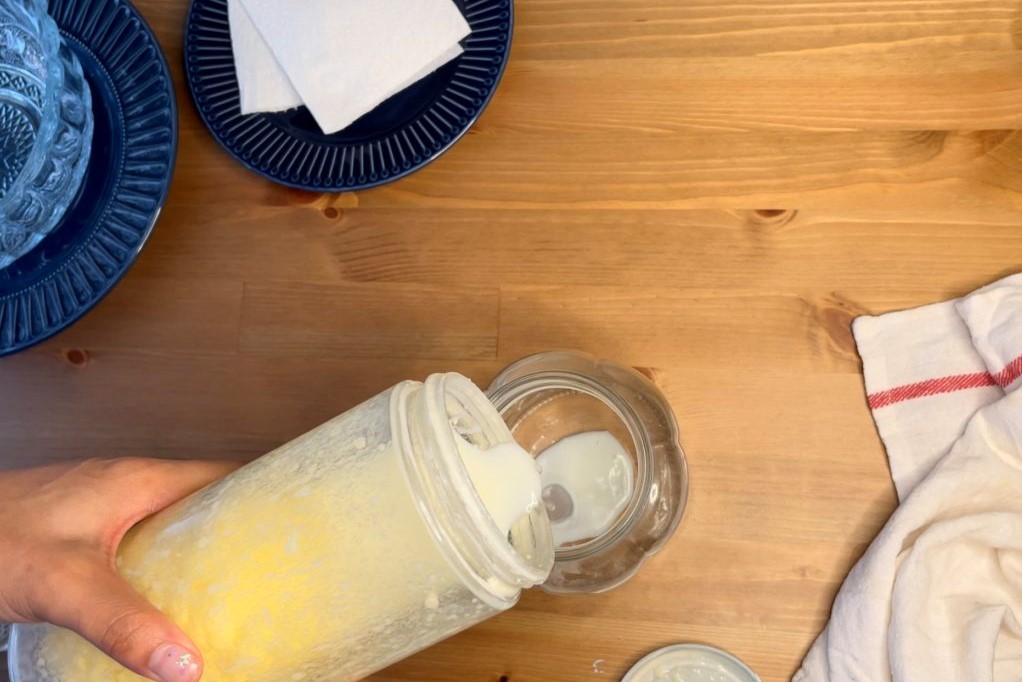
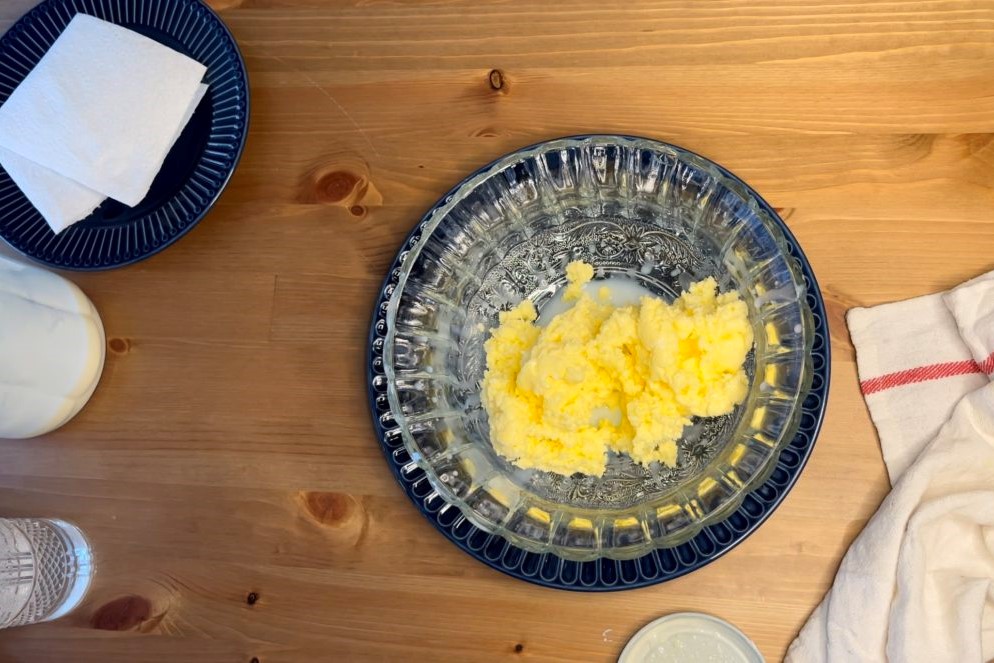
- Unscrew the lid and empty the liquid into a dish
– this is buttermilk, this can be used as a great addition to your baking!
- Empty butter into a large bowl and sprinkle with 1 tbsp of chilled water
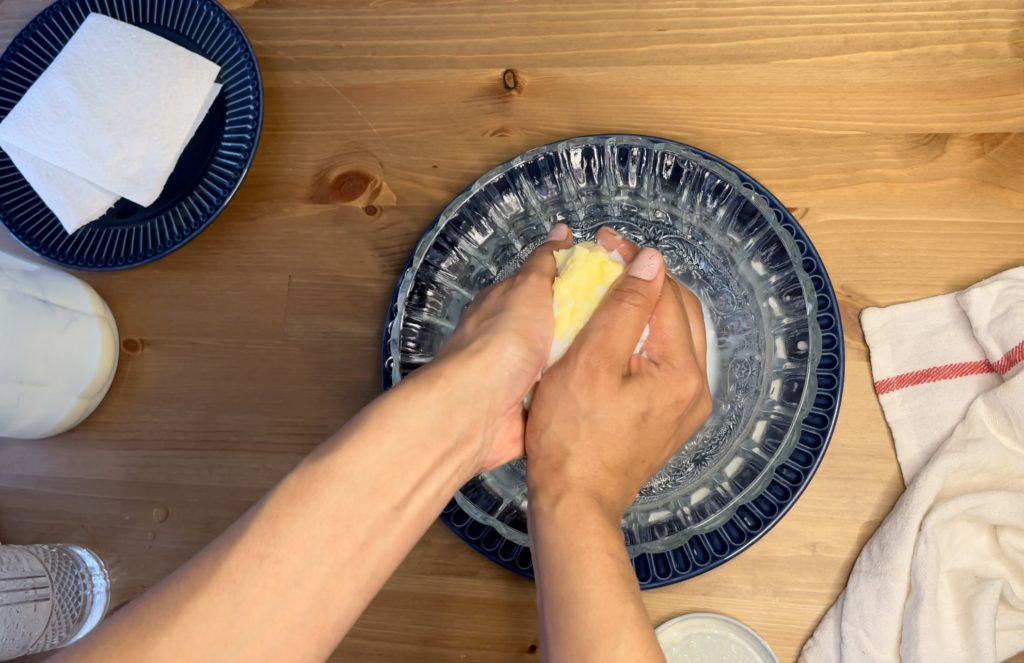
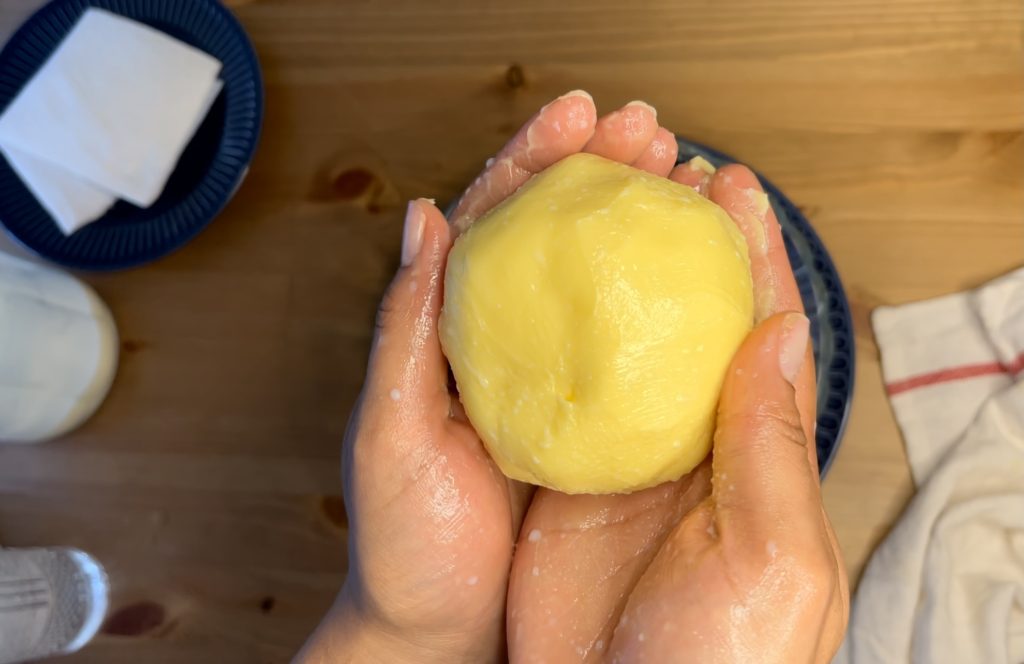
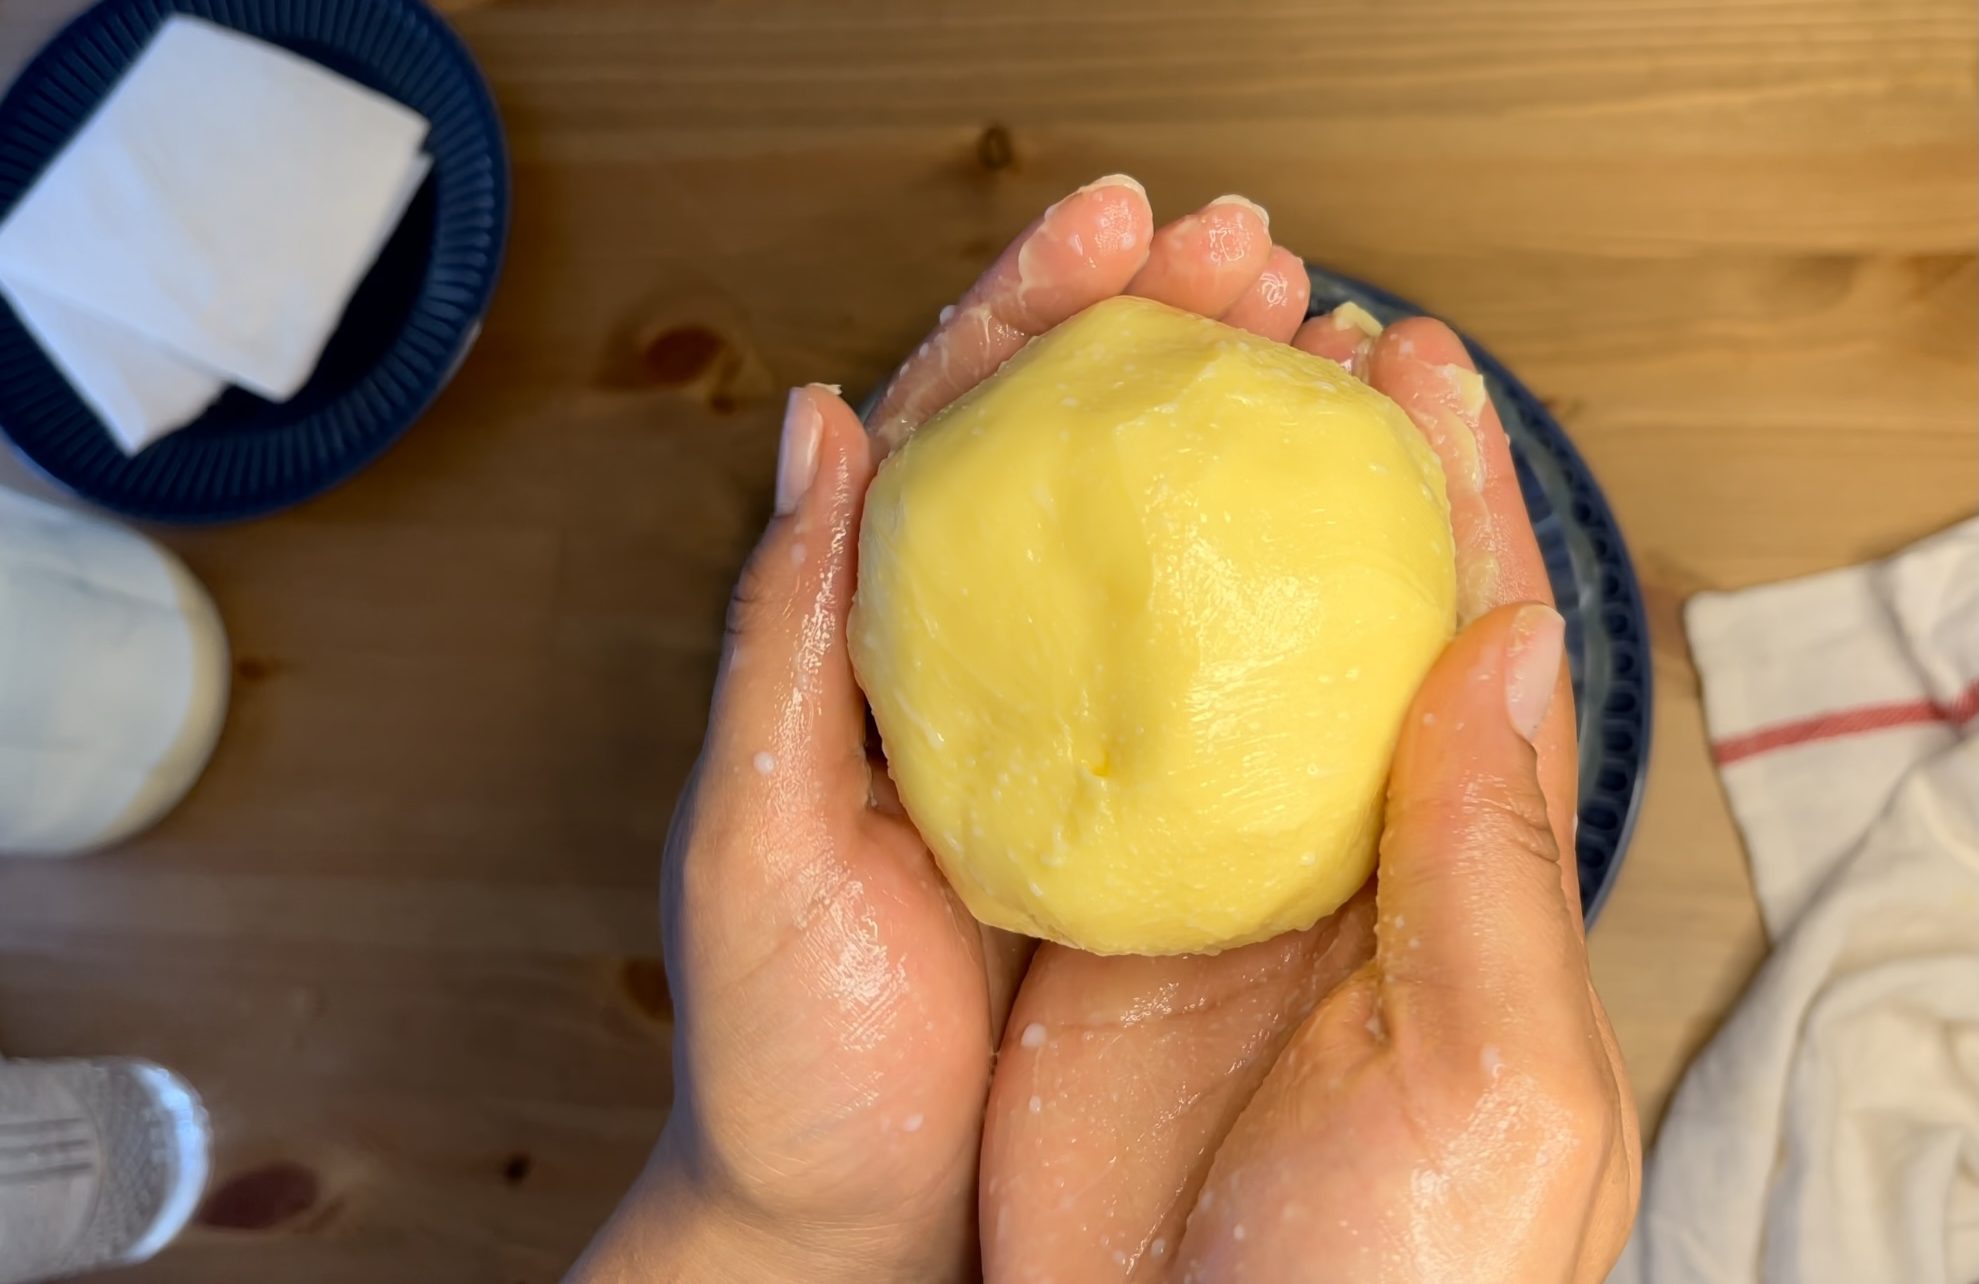
- Gather butter in your hands and form into a ball, squeeze as much liquid out as you can until a more solid ball can be formed
Voila! It’s that simple. You can also add a pinch of salt if you would like salted butter. Store in fridge in an air-tight container.
LIKED THIS RECIPE? TRIED IT?
MAKE SURE TO TAG ME ON INSTAGRAM OR PINTEREST
cottageontheleft.com is a participant in the Amazon Services LLC Associates Program, an affiliate advertising program designed to provide a way for websites to earn advertising revenues by advertising and linking to
[Amazon.com or .ca, .co.uk, etc.]

Recent Comments